In the progress of using and applying pictures to your slides, presentations, documents, etc. We usually experience a decrease in quality if we try to make the pictures larger. This will end up with images that are both enlarged and blurry together.
Therefore, people have been trying to find out how to make it bigger without losing its solution. In this article, we will bring you ways to Enlarge Images While Preserving Quality.
What Is The Reason For Enlarge Images While Preserving Quality?
We will go from the formats of pictures. All PNG and JPEG files are made up of thousands of pixels, or we can call them Bitmap image files. Besides, the pixels can be seen as squares once we zoom in, and each of those is located in a foretaken place. That is the reason why we call Bitmap files. When we use picture editing software, they will enlarge or shrink those pixels to resize a picture, so there will be a less visible quality loss if you lessen the image, and vice versa.
Note: Optimizing the user experience and enhancing the loading speed of a website can be achieved by reducing the image size without compromising the display quality. This approach not only makes the website more search engine-friendly for Google, but also creates a more user-friendly browsing experience.
Solutions For This Problem
The core goal is to fix and offset the expanded pixels. Afterwards, they will get on well with the nearest pixel. This process Is called Fractal Interpolation, or Fractal in short. The process will deliver a better outcome for the pictures using this way of resizing.
Below are ways to procced this method by most editing software:
Adobe Photoshop – Enlarge Images While Preserving Quality

Perfect Resize to enlarge images with preserving quality appears to be both an alone software or an add-on to Adobe Photoshop. Firstly, you have to install it on your PC and open the photograph in Photoshop. Then, find “File” -> “Automate” -> “Perfect Resize”. The image will be opened in the Perfect Resize section, where you have 2 options to resize: making your size in Document Size or installing a premade set from the left-hand menu.
Finishing size selection, you have to click “File” -> “Apply” to complete and set your changes to your file in Pts. Then, export the file to make it an image. That’s how you better-resized pictures.
There are 2 versions: the regular and the premium. The regular versions cost $550 and the premium one is $150, which also contains Photoshop’s plugins. They both have a trail in 30 days for your testing before you decide to purchase.
Note: Since you are reading one of the articles on how to optimize images, we recommend that you check out the article Top 4 Best Copyright Free Image Websites For your WordPress Blog SEO.
Gimp – Enlarge Images While Preserving Quality

Opposite to Adobe Photoshop, Gimp is a free image application resize with nearly no quality decrease. Here is the process to create a good resized image:
Open Gimp and open the image you intend to resize. Choose “Image” -> “Scale Image” and choose your planned resolution and size. Once you see “Sinc (Lanczos3)” (under the Quality area), choose it. The last step is to choose the button “Scale Image”.
That’s how you manage to resize a picture with Gimp. Notice is that the quality of Gimp’s outcome is not as well-done as Perfect Resize. It’s no cost, so anyone can get access and have their pics fixed better.
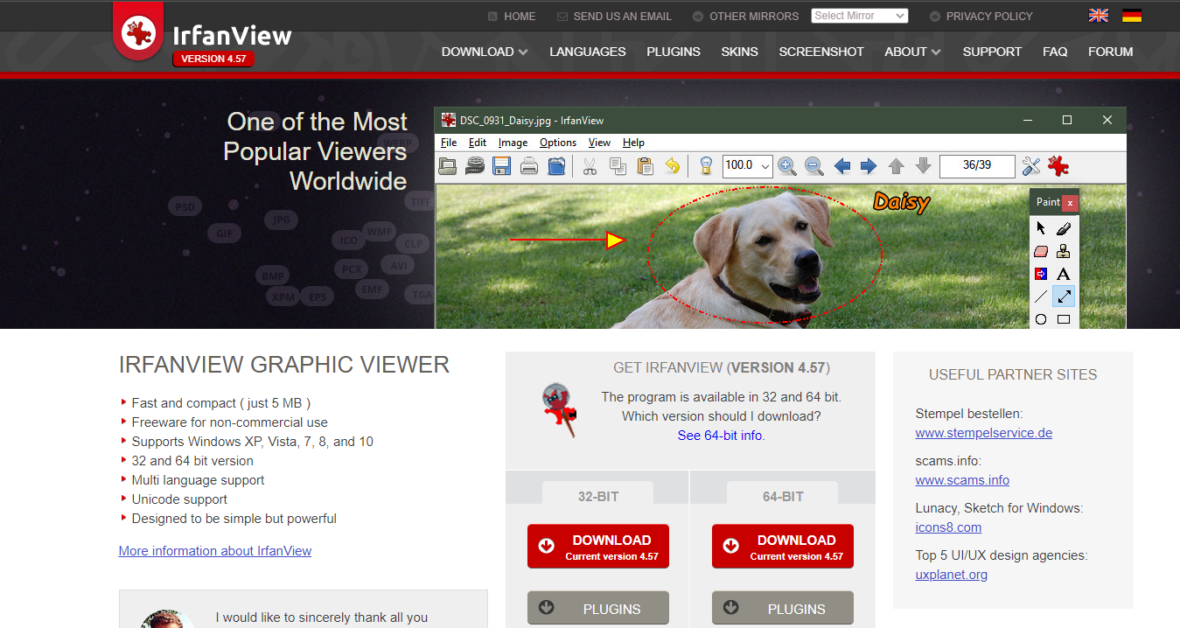
Irfanview – Enlarge Images While Preserving Quality

Irfanview is a compressed picture editing software that is designed only for Windows-based OS. You can make images larger without losing quality. Its method of resizing photographs is much more intelligent than most programs in the market now.
To start the process, you must download and install Irfanview first. After that, please pick up your planned picture. Then you will move your mouse to “Image”, where you will see a list of re-format the picture. Click Resize/Resample and wait for the image resize popup window.
When the popup appears on your screen, you need to enter your planned image size in the “Set Image Size” zone, and click “Resample”. Move your mouse to the drop-down filter menu and click “Lanczos (slowest)”, and complete with “Apply Sharpen after Resample”. That is the whole progress of Irfanview to resize your image. You can save or use the resized pic as you want.
Irfanview has done a very good part in shape management and image contrast, although we all know that no-cost image resizes applications are not as good as paid ones.
Conclusion – Enlarge Images while Preserving Quality
To sum up, maintaining the quality of an image while enlarging it is critical in many fields. Though there are techniques and tools to achieve this, it’s essential to keep in mind that there are limits to how much an image can be enlarged while still preserving quality.
Striking a balance between size and quality is crucial to producing a satisfactory final product.
Read More: How VMWare Workstation Is A Part Of Brilliant Technology?
Contact US | ThimPress:
Website: https://thimpress.com/
Fanpage: https://www.facebook.com/ThimPress
YouTube: https://www.youtube.com/c/ThimPressDesign
Twitter (X): https://x.com/thimpress_com


