For a business website, uptime and the stability of the site are always of utmost importance. However, keeping your uptime to 99.99% will not be possible if your site is still a work in progress. To get better results for your business, you will always feel the need to add more features and plugins to your site.
There’s a simple method that professional system administrators or developers often use to avoid this and keep your site’s uptime consistently at 99.99% of the time. It’s to create a staging site where you can set up and test anything you want and only apply these changes to your live site when every issue is solved.
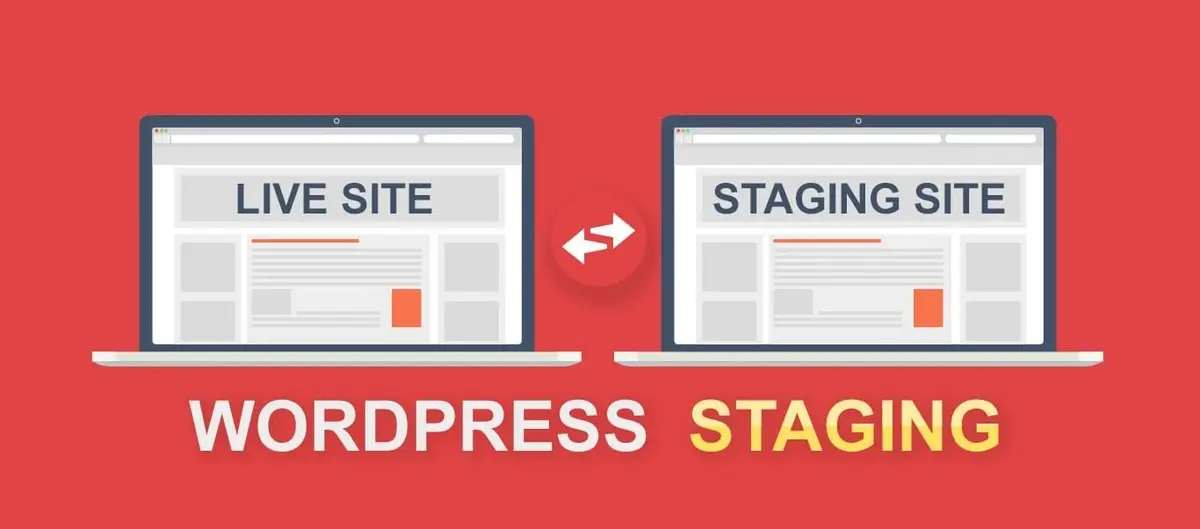
The staging site is 100% identical to the site you present to your customer at the time of change, but only you can access it.
What is a staging site on WordPress?

A staging site, a staging environment, or a dev site is a test that is 100% similar to your live site (in other words, a clone of your site), where you will do all the testing, experiment with new updates, new plugins, new features until when you’re satisfied enough to actually apply these changes to the real site.
A staging site can be on the same server, on your local host, or anywhere you want as long as it works. However, we recommend that the staging site be on the same server as the live site because the difference between server configurations could also be a big factor in making your site unable to load.
Okay, all this sounds complicated enough. Is there a web hosting provider that provides this service within their hosting package so I can buy it real quick? These are the two hosting companies that integrated a staging functionality within their server configuration, so things get really easy. If you’re not using these sites’ services, it’s still okay because we teach you everything about creating a staging site for any website using WordPress.
WordPress Staging Site Benefit

Below are some benefits of using a staging site. There’s almost no downside and the benefits are huge.
- It allows you to test your website comprehensively, make any changes, turn on and off any option, and customize any page without having to worry about making your clients see it before it’s done.
- Your site will still be functioning normally while you’re making changes. This won’t affect your users’ experience with your business’s website.
- Eliminate any downtime caused by bugs or plugin conflict when updating themes, and plugins, or adding new plugins. It sustains a good and professional image of your business in your customer’s minds.
- Most importantly, a broken site affects SEO, conversions, and sales badly. You will never want a broken site.
Staging, Migrate, Export and Duplicate
You may be wondering: Oh wait, is this just exporting all the site’s settings and implementing it on another site? And how is this different from duplicating your site, migrating your site …
Actually, there isn’t much difference in the purpose. There’s an export feature in WordPress, but it only helps you export some settings, articles, and images. Meanwhile, creating a staging site will help you create a clone of your site on the exact same server. You won’t have to be worried about this.
Before creating, you could Export or Duplicate your site to back up for a worst case, but this generally wouldn’t happen.
Below are some of the best WordPress plugins for Exporting and Duplicating your site:
How to Create a WordPress Staging Site?
There are many plugins available to help you create a staging site, but for the sake of simplicity, I will introduce to you the easiest, most powerful plugin for you: WP Staging
Step 1 – Install the WP Staging Plugin
You can download WP Staging directly from the WordPress Plugin Directory.
Or you could also download it from WP-Admin like most other plugins: Login to your WP-Admin > Plugins > Add New > Search for WP Staging > Install > Activate.
After that, remember to activate the plugin.
There may be a few notices asking you to create a Logs folder. And to back up your system using their own Export plugins. Just skip it.
Step 2 – Creating Staging Site
Now we’ve finished installing the plugin. Please go to your WP-Admin > Start.
There will be 3 steps: Overview, Scanning, and Cloning. We will start with Overview and when all is finished, we will have finished cloning our site to a subdirectory in the same server.
Please click on Create a new staging site.
At the scanning step, please type a short name of your new site (staging, dev…) and press Start Cloning. The system will then start cloning your site.
When it’s done, just click on the Open Staging site
Step 3 – Start tweaking
At this point, all you have to do is to log in to the staging site with the same credentials as your live site. And that’s it! You can start tweaking the staging site right away and see what changes are ok, and what changes cause errors.
If something’s wrong, feel free to ask the developers. Give them the credentials to your staging site if you want. Everything will be safe and secured
If nothing’s wrong, now what? Just go back to the live site and apply the same course of action you made with the staging site and see how it works. Since you’ve experimented, there won’t be anything wrong happening to your site. Then you may keep the staging site if you wish to. Or just go back to WP-Admin > WP Staging > Delete it to save some memory.
Conclusion
So, just by a very simple act, you can prevent your site from unnecessary troubles in the future. The overall workflow is very easy to understand and implement:
Whenever you want to make any change, add a new plugin, update theme or anything, go to WP Staging > Create a Staging site > Login to the Staging site > Make necessary changes and see if it works > Comeback to your live site, manually apply those changes > All done.
That’s what we’ve been doing with all of our systems, and it surely is an effective way to keep your server up and running 24/7 without any problem.
Read more: How to Setup WordPress Email Logs
Contact US | ThimPress:
Website: https://thimpress.com/
Fanpage: https://www.facebook.com/ThimPress
YouTube: https://www.youtube.com/c/ThimPressDesign
Twitter (X): https://x.com/thimpress_com


