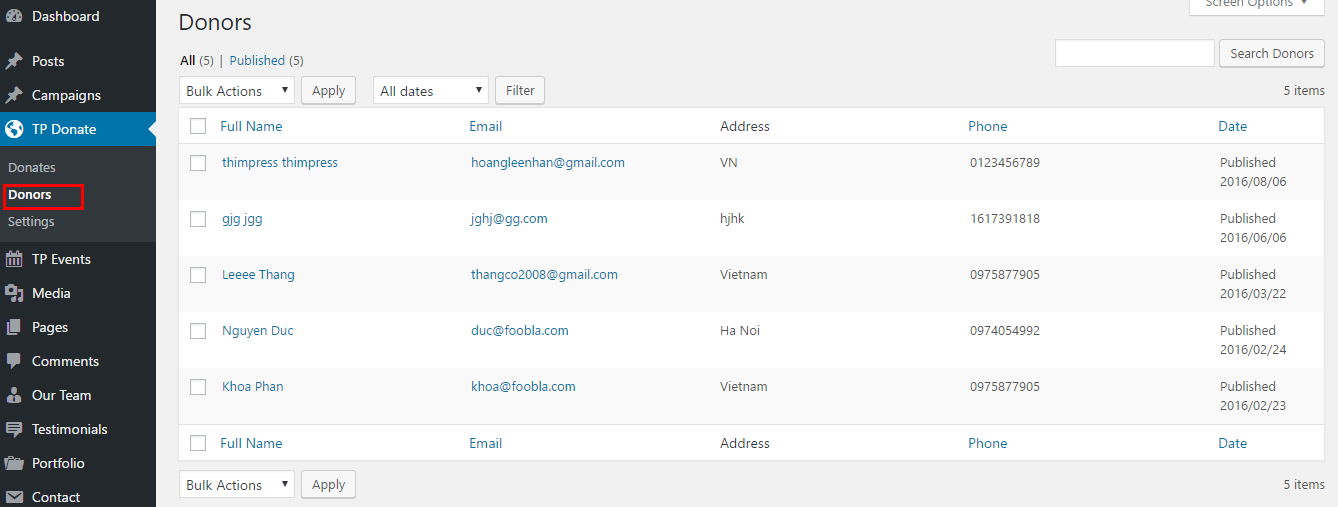
FundPress plugin is an awesome plugin of our theme Charity. It helps to create and manage donations as well as to build a new fundraising campaign. FundPress plugin is included with theme, so when purchase our themes from ThemeForest, you need to install theme and install required plugins – including FundPress plugin.
Setting FundPress Plugin
After install and active theme and required plugins, let’s go to Dashboard > FundPress > Settings then configure something:
1. General setting tab
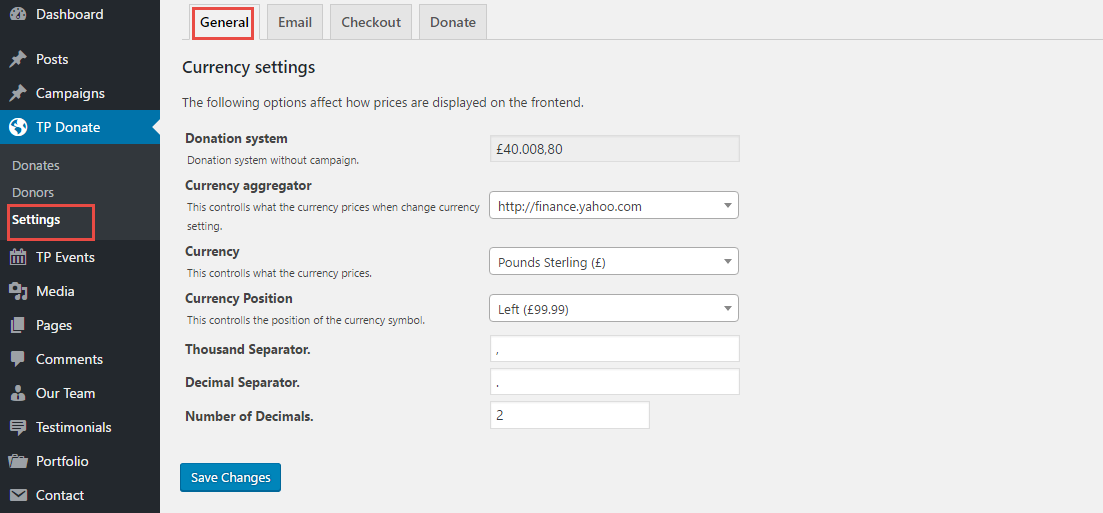
General Setting allows you set currency which are displayed on the font-end.
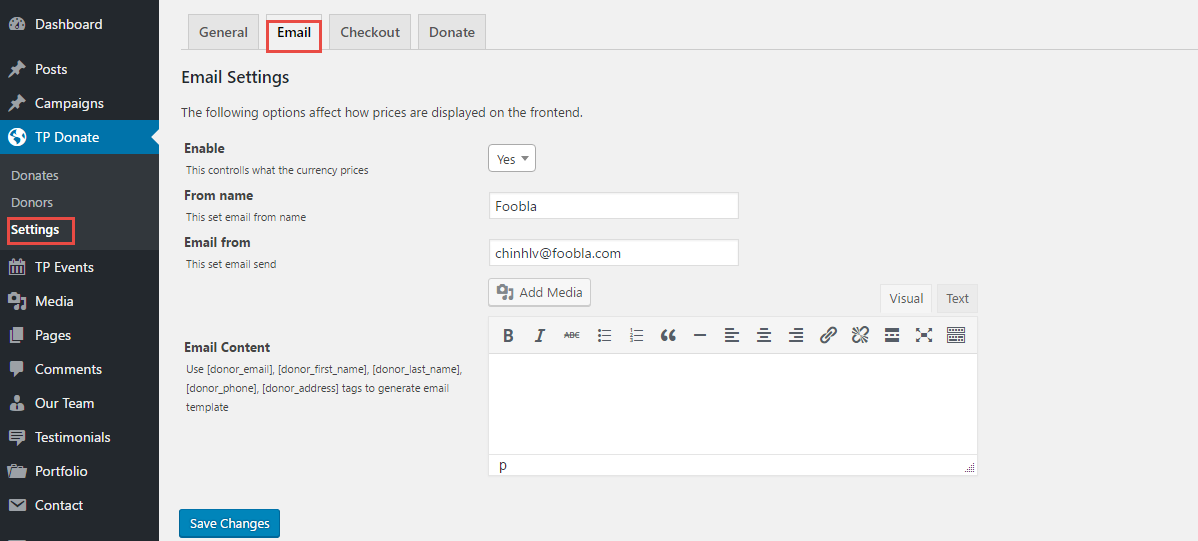
2. Email Setting tab
The first, you need to select “Yes” to enable email function to help control what currency price. Then you can enter name, email address, content of email:
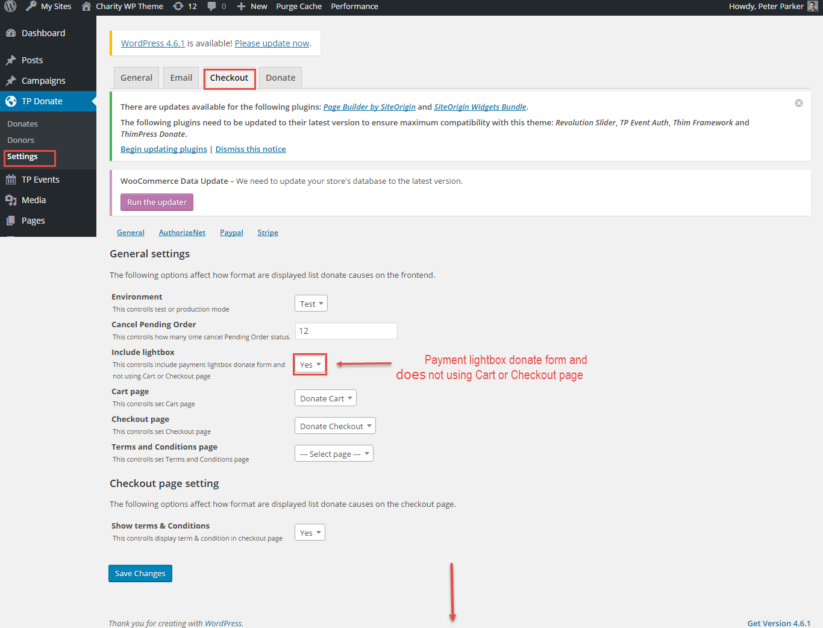
3. Checkout Setting tab
FundPress supports three payment methods: Paypal, Stripe, AuthorizeNet. Customers can pay via available methods of the plugin FundPress without using payment methods of WooCommerce plugin.
If you want to use any method, you need to click on sub tab Authorize, NetPaypal, Stripe > select “Yes” to enable.
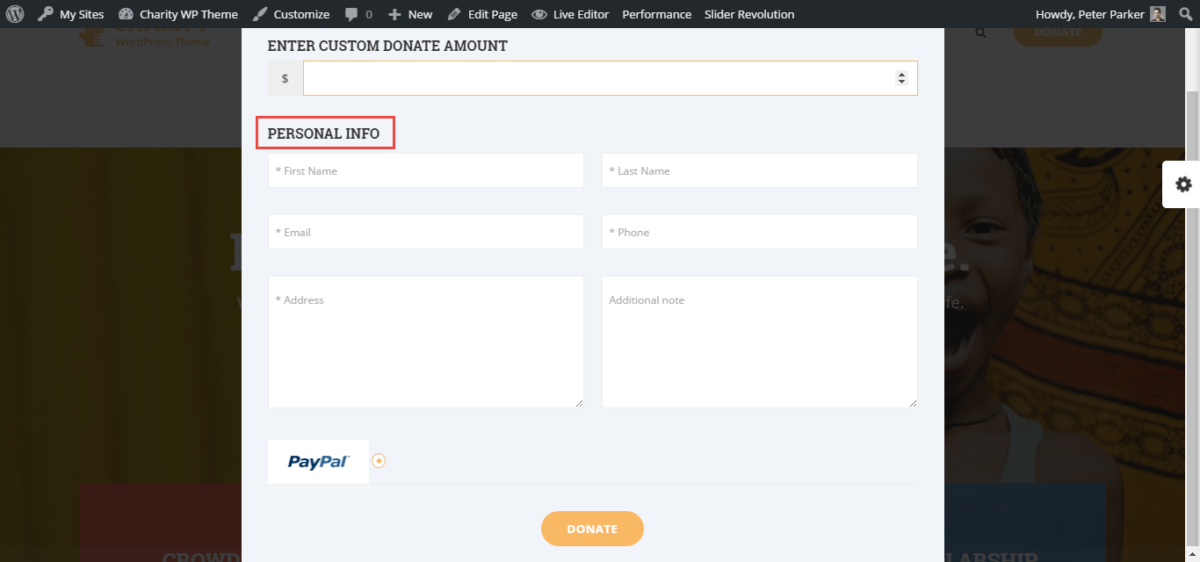
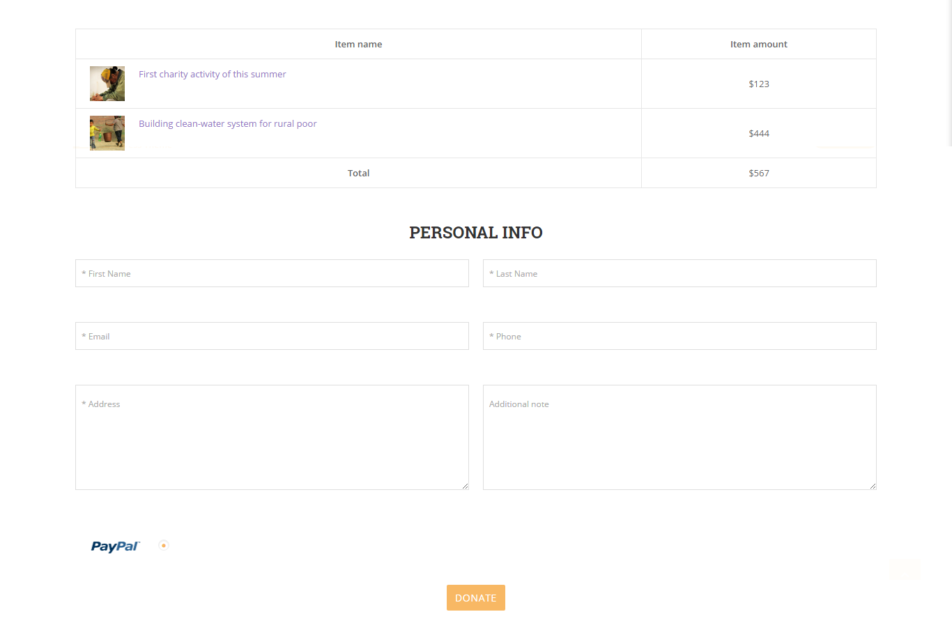
Include lightbox: controlls include payment lightbox donate form. If select “Yes“, lightbox donate form will be enabled checkout. If select “No“, lightbox donate form redirect to Checkout page.
With Include lightbox is “Yes”:
With Include lightbox is “No” then you need to select Donate redirect page:
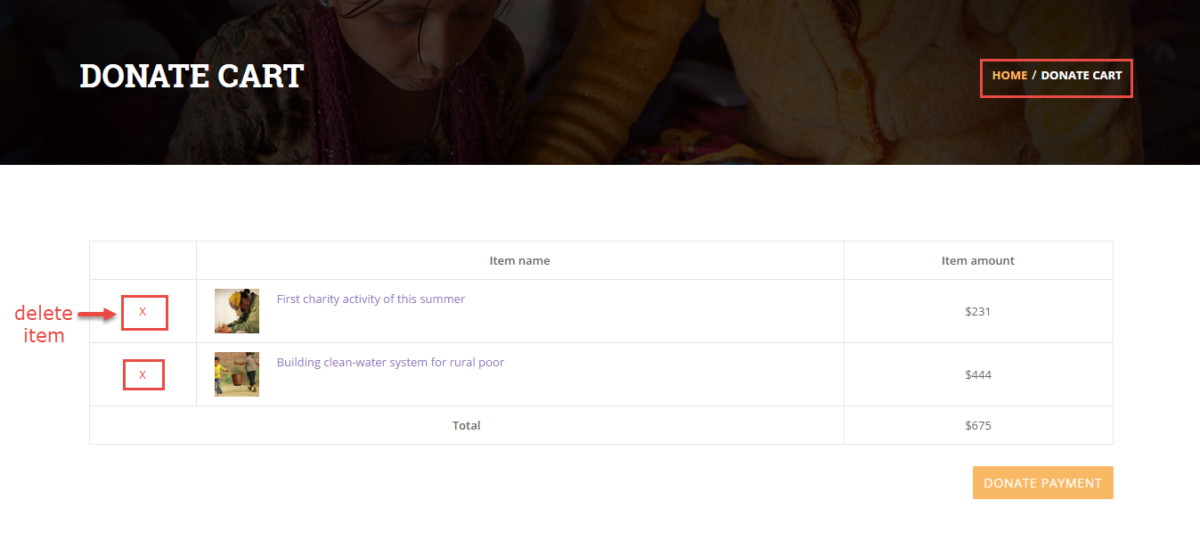
Cart page: select page to redirect to cart page:
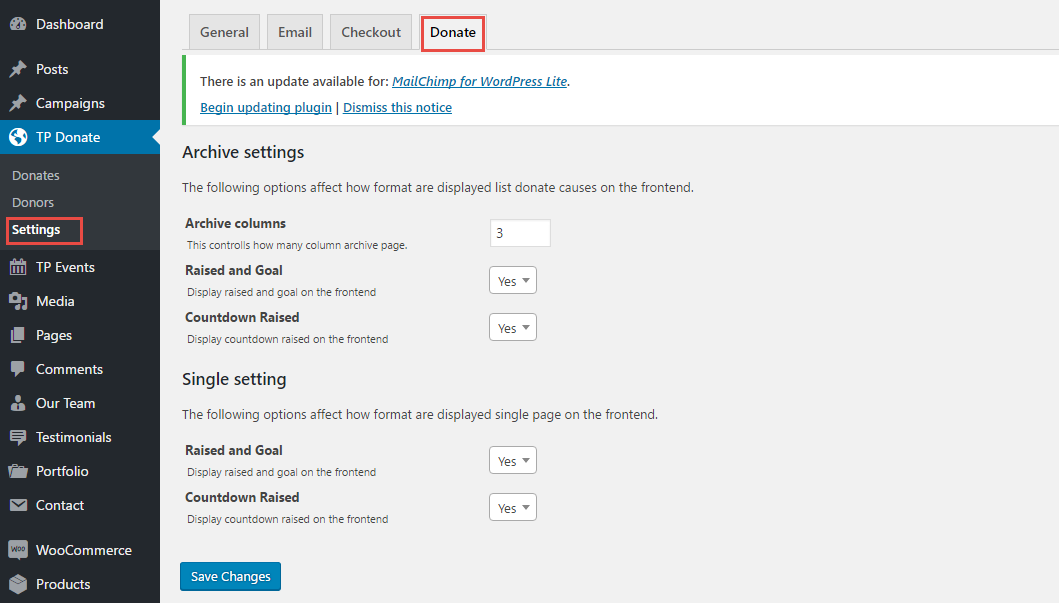
4. Donate Setting tab
This is place to configure format of list donate on font-end.
Features and uses of FundPress Plugin
FundPress Plugin has 3 main functions including:
- Create Categories and Tags.
- Create Campaigns.
- Manage information of Donates and Donors.
1. Create Categories and Tags
Before create new campaigns, you need to create Categories and Tags.
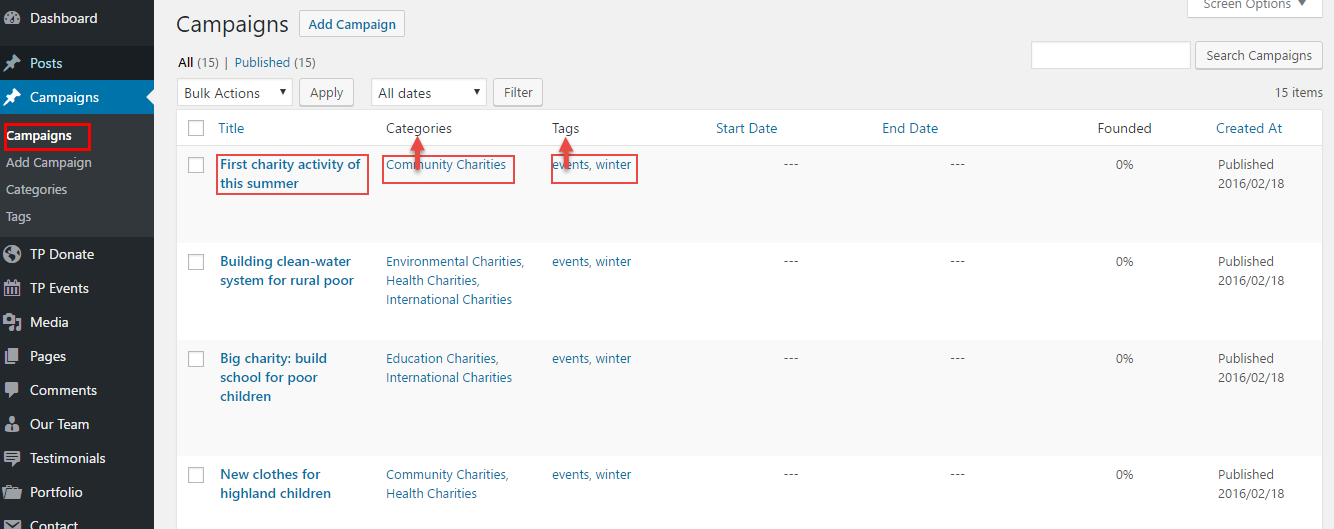
Categories and Tags: Go to Dashboard > Campaigns > Add New tag or category:
2. Create Campaigns
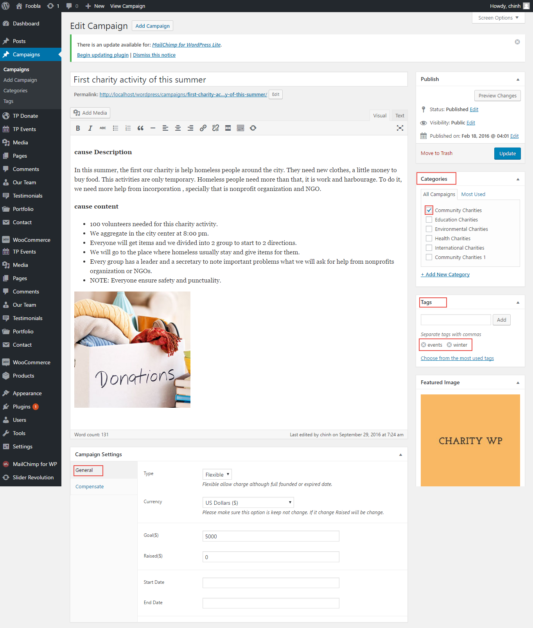
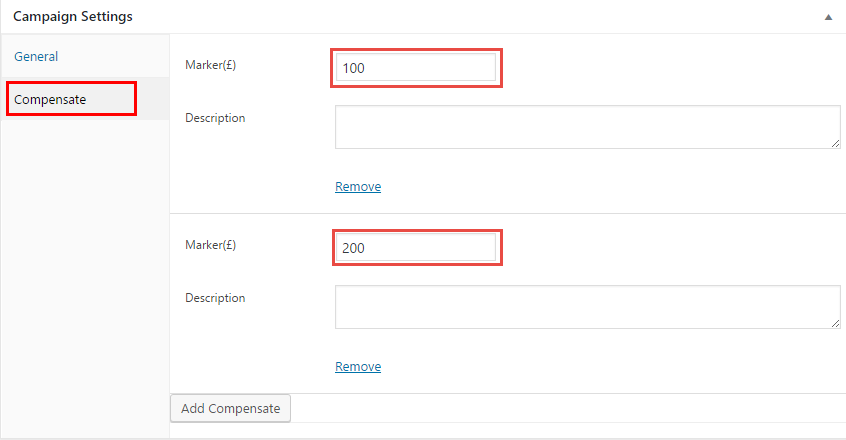
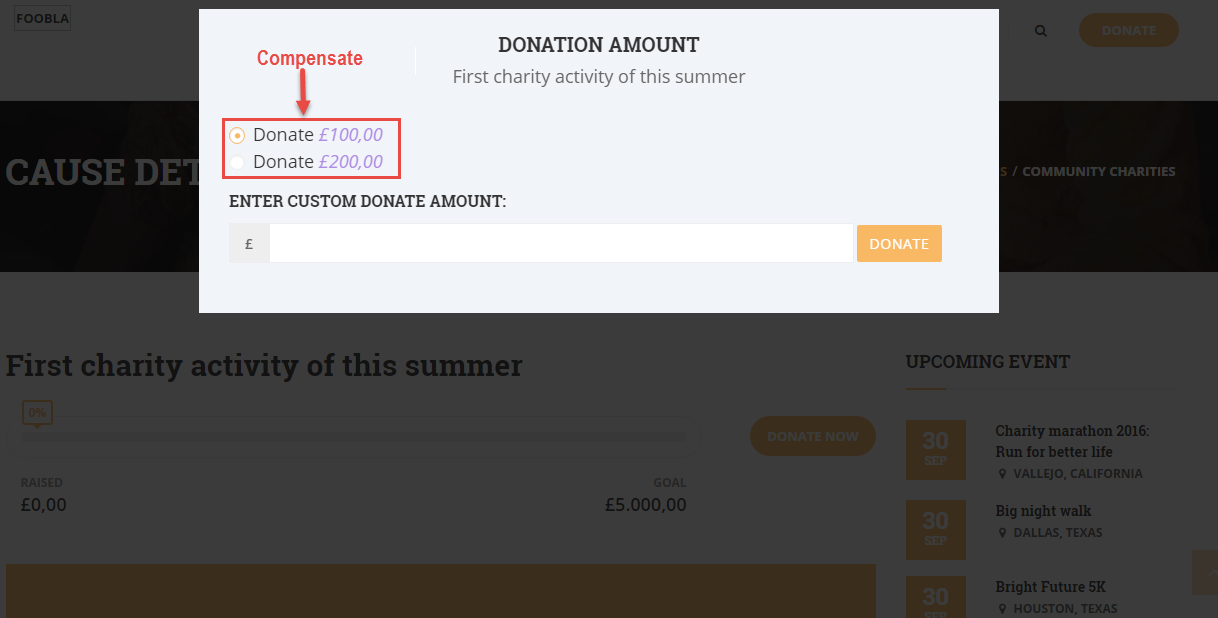
Go to Dashboard > Campaigns > Add New Campaign > configure tittle, content, description, add featured image as well as specific settings of campaign:
3. Manage information of Donates and Donors
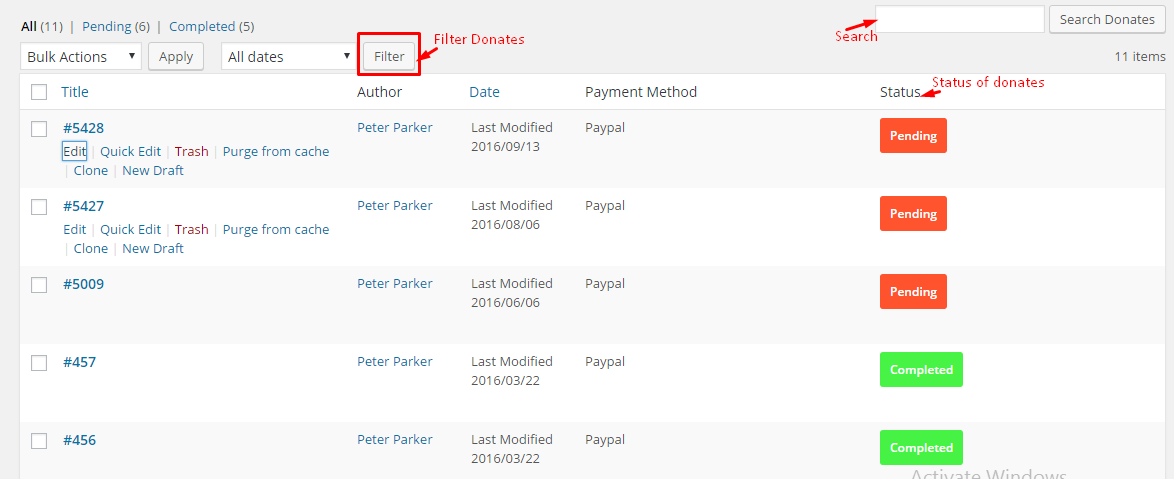
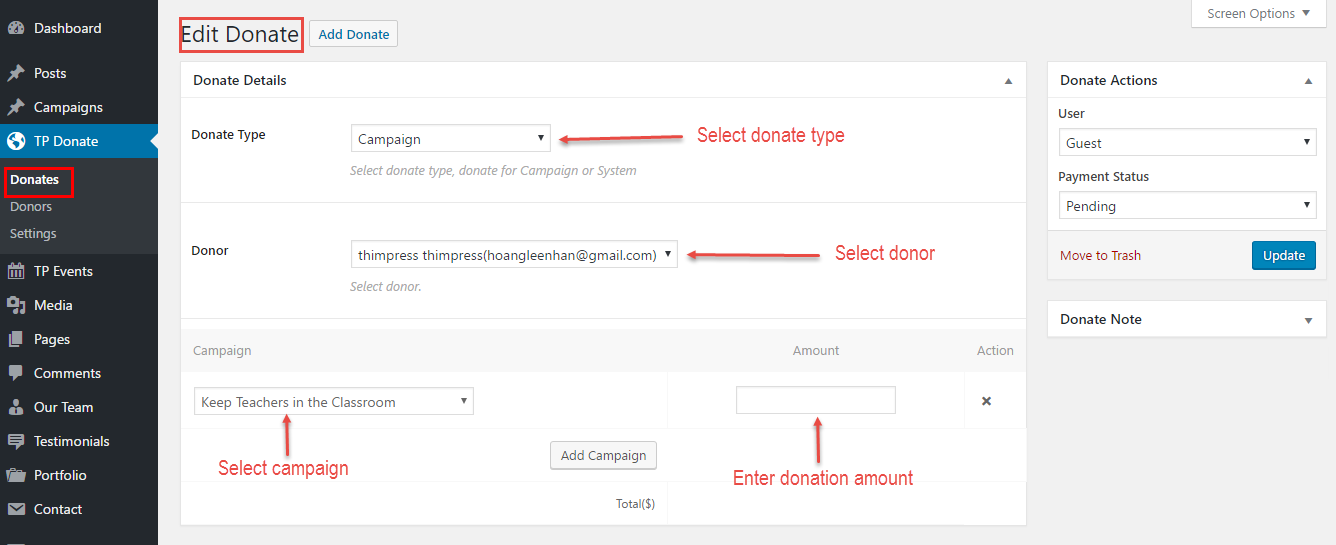
This is place to manage information of Donates and Donors.
Donate: With Donates you can edit or add donate.
Donors: all information of donors will be stored when they donated.
Learn More from ThimPress Knowledge Base Articles:
- How To Submit A ThimPress Support Ticket
- How To Disable The Demo Slider Images
- Active Included Premium Plugins: What You Need to Know
- How to Back Up Your WordPress Site: 3+ Simple Methods
- How To Submit A ThimPress Support Ticket
- How to Create a ThimPress Account and Access Support?
- How to Deregister and Reactivate Your ThimPress License?
- How To Enable Register Button In WordPress
- How To Get My Envato Purchase Code?
- My Website Is Slow: How To Improve WordPress Website Speed?
Contact US | ThimPress:
Website: https://thimpress.com/
Fanpage: https://www.facebook.com/ThimPress
YouTube: https://www.youtube.com/c/ThimPressDesign
Twitter (X): https://twitter.com/thimpress
