Have you been wondering how to convert HTML to WordPress?
With WordPress powering a third of all websites, making the switch can be a smart move for site owners.
While HTML sites are fine for simple showcases, WordPress offers more flexibility and features. It’s easier to manage and update, especially if you’re not a coding whiz.
This guide will walk you through different ways to convert your static HTML site to WordPress.
We’ll cover everything from starting from scratch to keeping your existing design and just moving the content.
You’ll learn about the tools and plugins that can make this process as smooth as possible.
Eduma – Education WordPress Theme
We provide an amazing WordPress theme with fast and responsive designs. Let’s find out!
No matter your skill level, this article will help you decide which method is right for you.
So, if you’re ready to take your website to the next level, let’s dive in and explore the world of WordPress.
Key Considerations Before Converting HTML to WordPress
Before you dive into converting your HTML website to WordPress, it’s important to plan and make sure you have everything you need.
Web Hosting
WordPress websites require specific hosting plans, which may be different from what you used for your HTML site.
If you don’t already have one, you’ll need to sign up for a hosting service that supports WordPress.
Alternatively, you can build your WordPress site locally on your computer and then transfer it to a host later.
Code Editor
To change your website’s HTML code during the conversion process, you’ll need a code editor.
Some popular options include Notepad++, Atom, and Sublime Text.
Time and Resources
Be realistic about how much time and money you’re willing to invest in this project.
If you’re eager to learn, you can follow this tutorial to do it yourself.
However, if you’re short on time or prefer to let someone else handle it, you can hire a web developer or use a specialized migration tool.
While these options may be more expensive, they can save you time and effort.
3+ Methods To Convert HTML To WordPress
You can convert HTML to WordPress in various ways, each with varying levels of difficulty:
- Create a WordPress theme from a static HTML site: This is the most complex option, requiring coding knowledge. It preserves your HTML design but involves adapting code into PHP files.
- Keep content, lose design: If you’re open to a new design, you can simply transfer your content to a new WordPress theme. This is the easiest method.
- Use a child theme: This method allows you to maintain the design by building on an existing WordPress theme, giving you access to WordPress features with minimal effort.
Convert HTML To WordPress By Creating a WordPress Theme
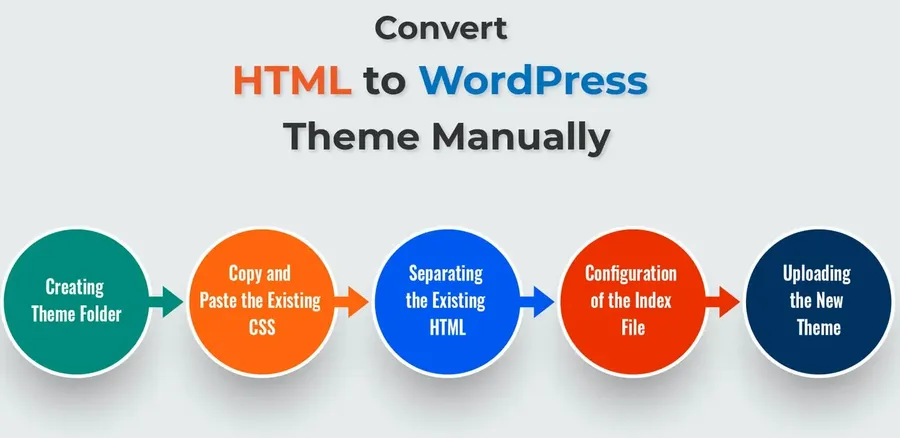
If you wish to recreate your static HTML site as a dynamic WordPress website, this guide will walk you through the steps.
Setting the Foundation:
Begin by creating a new folder on your desktop and naming it (e.g., “my-theme”).
Within this folder, use a code editor to create the following essential files:
- style.css
- index.php
- header.php
- sidebar.php (optional, depending on your design)
- footer.php
These files form the core structure of your WordPress theme.
Adapting CSS:
In the style.css file, add a header with details like the theme name, author, and description.
Following this header, copy and paste your existing CSS code from the HTML site.
Dividing the HTML:
To leverage WordPress’s dynamic functionality, split your static HTML code into different sections:
- header.php: Include all code from the beginning of your HTML up to the main content area, usually marked by <main> or <div class=”main”>. Add <?php wp_head();?> before </head> for plugin compatibility.
- sidebar.php: (Optional) Place the contents of your sidebar section (if applicable) within <aside> tags.
- footer.php: Copy the remaining HTML code, typically the footer information. Insert <?php wp_footer();?> before </body> for similar reasons as with wp_head().
Integrating with WordPress:
Modify the header.php file to reference your theme’s stylesheet using <?php echo get_template_directory_uri(); ?>/style.css.
In the empty index.php file, paste the following code to integrate your theme’s components:
PHP
<?php get_header(); ?>
// The Loop (see below)
<?php get_sidebar(); ?>
<?php get_footer(); ?>
Implementing The Loop:
Between get_header(); and get_sidebar();, insert The Loop, which processes and displays your WordPress posts:
PHP
<?php while ( have_posts() ) : the_post(); ?>
<article class=”<?php post_class(); ?>” id=”post-<?php the_ID(); ?>”>
<h2><?php the_title(); ?></h2>
// Additional post elements (date, author, content, categories)
</article>
<?php endwhile; ?>
Use code with caution.
content_copy
Uploading and Activating:
Compress your theme folder into a ZIP file.
In your WordPress dashboard, navigate to Appearance -> Themes -> Add New -> Upload Theme. Upload your ZIP file, install it, and activate it.
Your WordPress site should now mirror your original static HTML site’s appearance, ready for further customization and content creation.
Convert HTML To WordPress By Keeping Content, Losing Design
If you’re ready to revamp your website and switch to a fresh WordPress theme, there’s a way to preserve your valuable content while embracing a new design.
This method simplifies the content import process.
Here’s a step-by-step guide:
Important: Create a backup of your WordPress website before making any changes.
Choose and Activate Your New Theme:
Begin by installing and activating your preferred WordPress theme. This will set the foundation for your website’s new look.
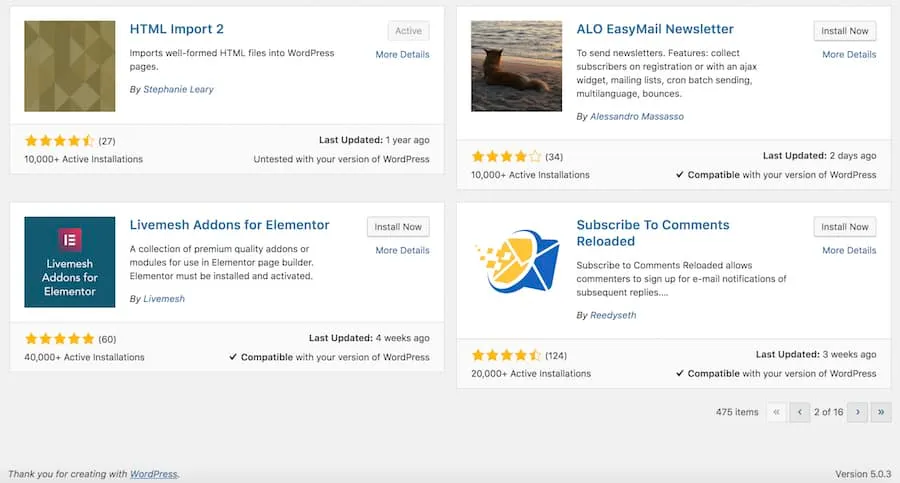
Install and Activate the HTML Import 2:
Navigate to Plugins -> Add New -> search for “HTML Import 2.”
Despite being an older plugin, it’s still highly effective for this task. Install and activate it.
Configure Import Settings:
Go to WordPress Settings -> HTML Import.
Here, you can choose to import multiple pages simultaneously or one page at a time.
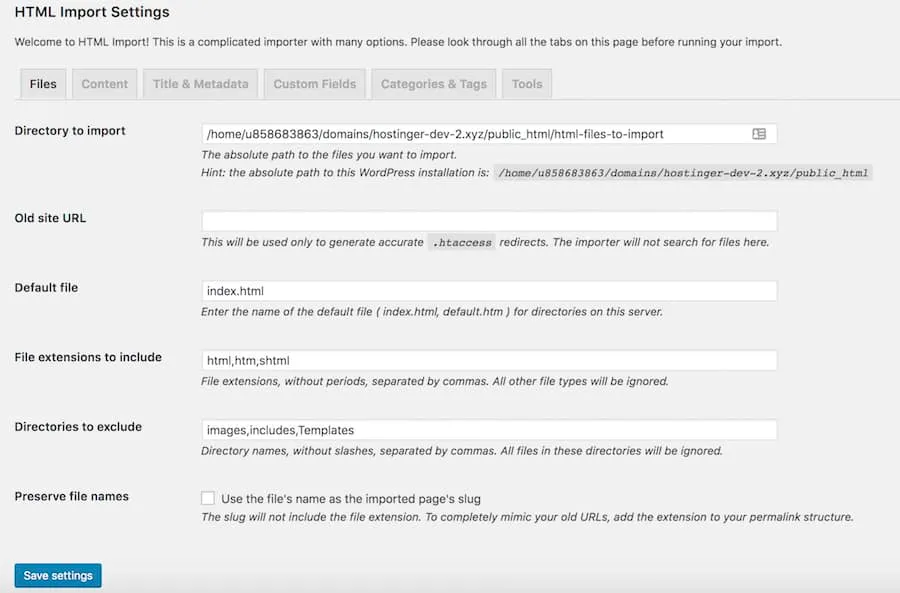
The plugin directs you to a specific path (e.g., html-files-to-import).
Ensure your HTML files are uploaded to this location on your server.
Refer to the plugin’s official user guide for detailed instructions.
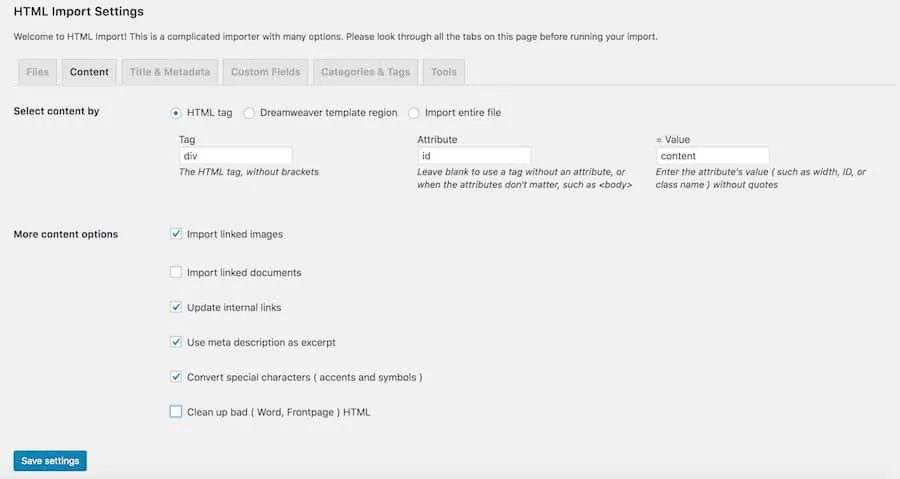
To import your content, select the appropriate HTML tag and configure its settings in the three provided fields.
Save your settings when done.
Initiate the Import Process:
After you save your settings, the “Import Files” button will appear.
You can also get to it by going to Tools -> Import and selecting “Run Importer” in the HTML options.

Select whether you are importing a directory of files or a single file, and then click “Submit.” Your current information will be effortlessly moved to the new WordPress site.
Convert HTML To WordPress By Using a Child Theme Adapted From an Existing Theme
If you’d like to keep elements of your old website’s look while avoiding a complete overhaul, a child theme might be the answer.
Child themes in WordPress let you utilize thousands of existing themes (parent themes) as a foundation for your new site.
You can modify the appearance without altering the parent theme’s core code.
This means your changes won’t disappear when the theme updates.
While we have a comprehensive guide on creating a WordPress child theme, this tutorial will use the Childify Me plugin for a simpler approach.
Important: Back up your WordPress site before making changes.
Choose a Suitable Theme:
Find a theme that closely resembles your old site’s design to minimize future adjustments.
Browse the WordPress theme directory for options. In this example, we’ll use Twenty Seventeen.
Install Childify Me:
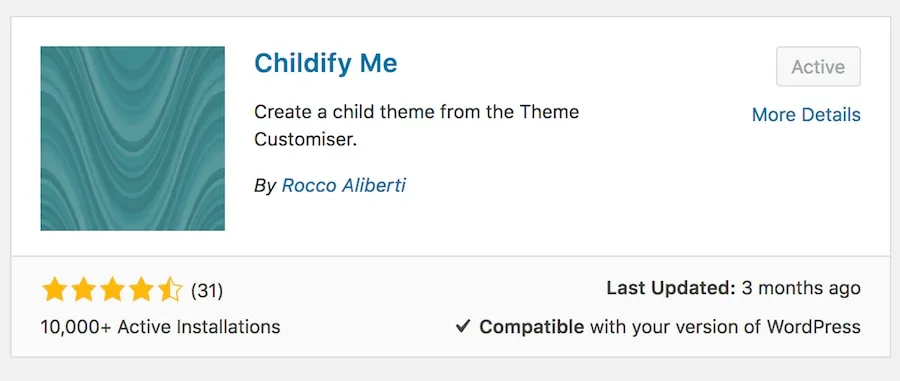
Go to Plugins -> Add New, search for “Childify Me,” and install/activate it.
Tip: Childify Me generates style.css and functions.php files.
Use an FTP client (or Hostinger’s File Manager) to upload additional custom functions, folders, or files.
Customize the Parent Theme:
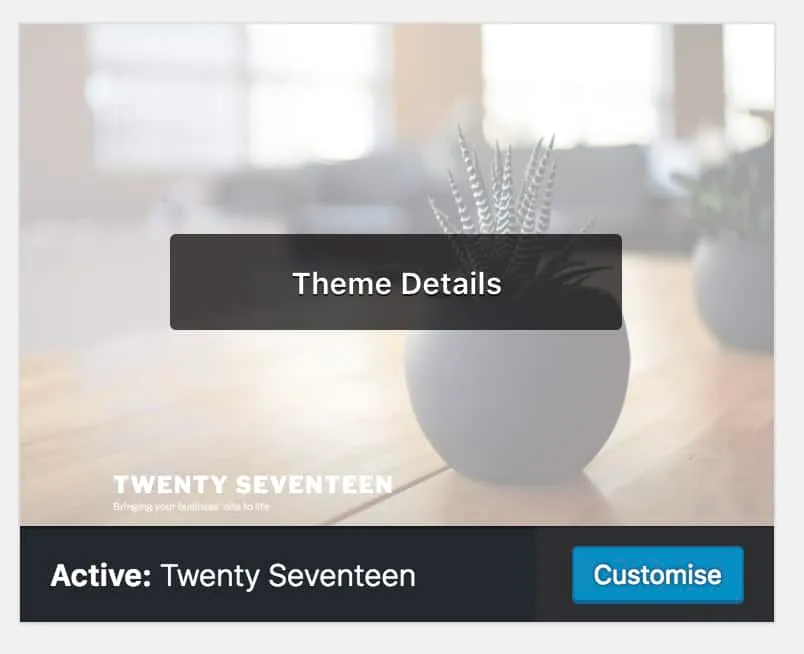
Ensure the parent theme is active under Appearance -> Themes.
Click Customize to access its customization panel.
Create the Child Theme:
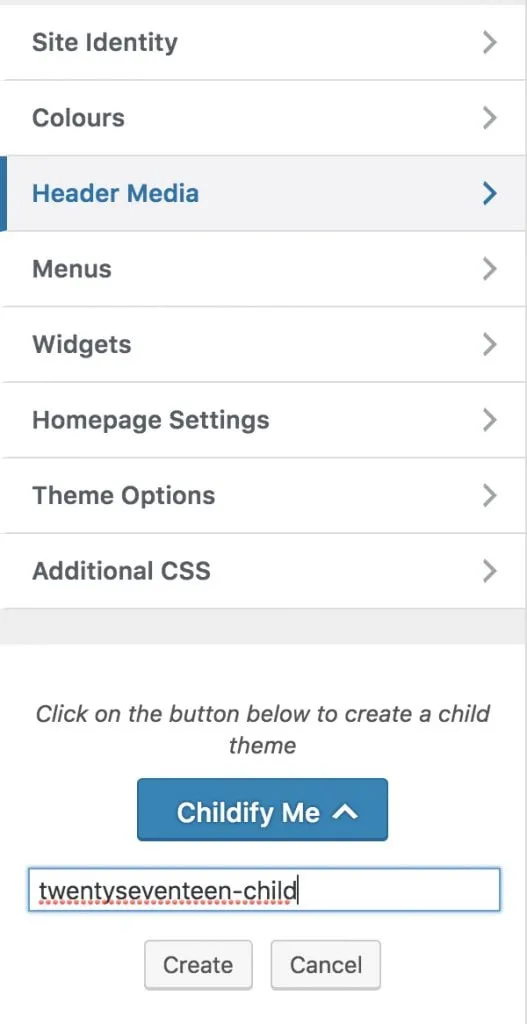
Choose the Childify Me button, provide your child theme a name (ideally something similar to the parent), and then click Create.
Then select Activate and Preview.
Import Your Content: With your new site visually matching the old one, import the content using the method described earlier.
Final Thoughts: Convert HTML to WordPress
As we’ve seen, there are multiple paths to convert your HTML site to WordPress, each with its pros and cons. Whether you’re a coding guru or a beginner, there’s a method that suits your needs.
By understanding the options and planning carefully, you can unlock the power and flexibility of WordPress, taking your website to new heights.
Read More: How to Edit HTML in WordPress
Contact US | ThimPress:
Website: https://thimpress.com/
Fanpage: https://www.facebook.com/ThimPress
YouTube: https://www.youtube.com/c/ThimPressDesign
Twitter (X): https://x.com/thimpress_com


