Updating your WordPress theme is crucial for security, performance, and compatibility with new plugins. In fact, outdated themes account for 39% of hacked WordPress websites due to security vulnerabilities. However, if done incorrectly, you risk losing all customizations, including custom CSS, widget settings, and theme modifications.
In this guide, we’ll show you step-by-step how to update your theme safely while preserving your website’s unique design and functionality.
Eduma – Education WordPress Theme
We provide an amazing WordPress theme with fast and responsive designs. Let’s find out!
Why You Should Update Theme Regularly?
Before we dive into the process, let’s discuss why updating your theme is important:
- Security Fixes: Older theme versions may have vulnerabilities that hackers can exploit.
- New Features & Enhancements: Updates often come with new design elements, performance improvements, and bug fixes.
- Compatibility: Keeping your theme up to date ensures it works with the latest WordPress version and plugins.
- Better Performance: Updated themes often have optimized code that improves loading speeds and SEO rankings.
Risks of Updating a Theme Without Precautions
If you update your theme without following best practices, you may lose:
- Custom CSS modifications
- Changes made in the theme files (functions.php, header.php, etc.)
- Custom templates or code snippets
- Widget settings and menu configurations
This guide will help you update your theme while keeping all customizations intact.
Step 1: Use a Child Theme for Customization
A child theme is the safest way to customize your WordPress theme. If you’ve made modifications directly to your theme files, consider our guide on how to create a WordPress child theme first.

How to Create a Child Theme
- Navigate to
wp-content/themes/in your WordPress directory. - Create a new folder for the child theme, e.g.,
yourtheme-child. - Inside this folder, create a
style.cssfile and add: - Create a
functions.phpfile and enqueue the parent theme’s stylesheet: - Activate the child theme in your WordPress dashboard.
Step 2: Back Up Your Website Before Updating

Always back up your website before making major changes to avoid losing custom data.
How to Back Up Your Website
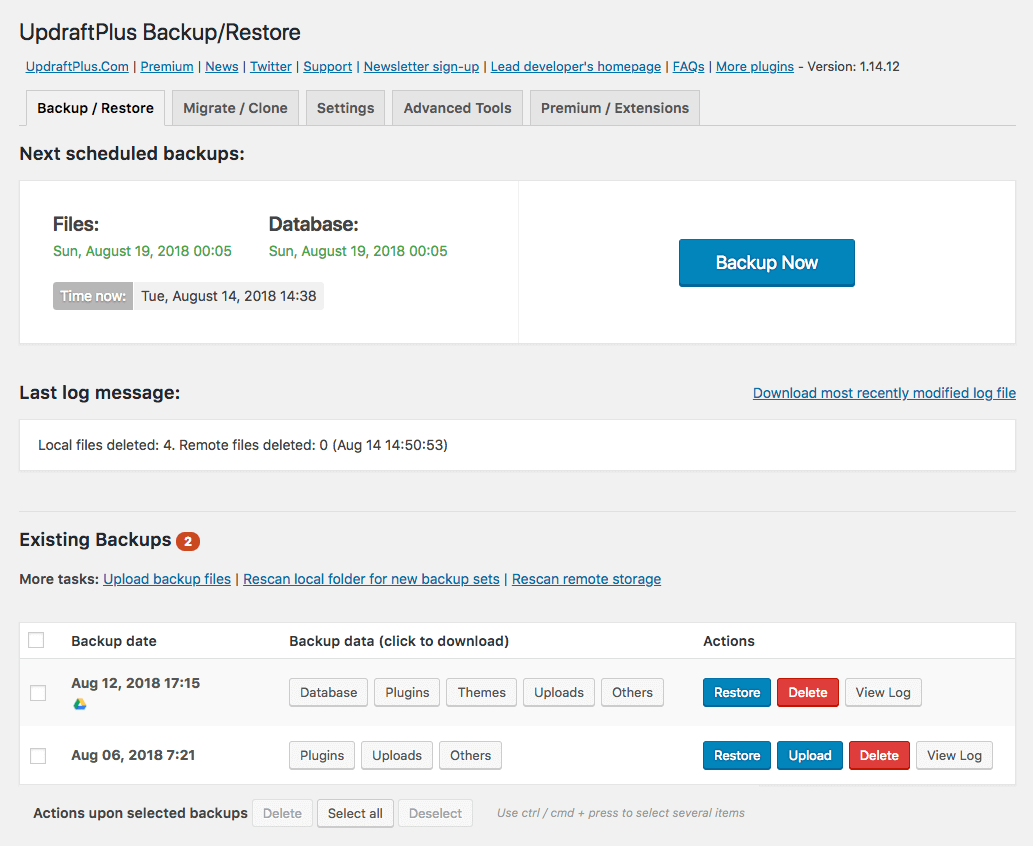
- Using a Plugin: Install a backup plugin like UpdraftPlus or All-in-One WP Migration.
- Manual Backup:
- Export your database using phpMyAdmin.
- Copy all your theme files via FTP.
- Store backups in a secure location.
Step 3: Use a Staging Environment Before Updating Theme

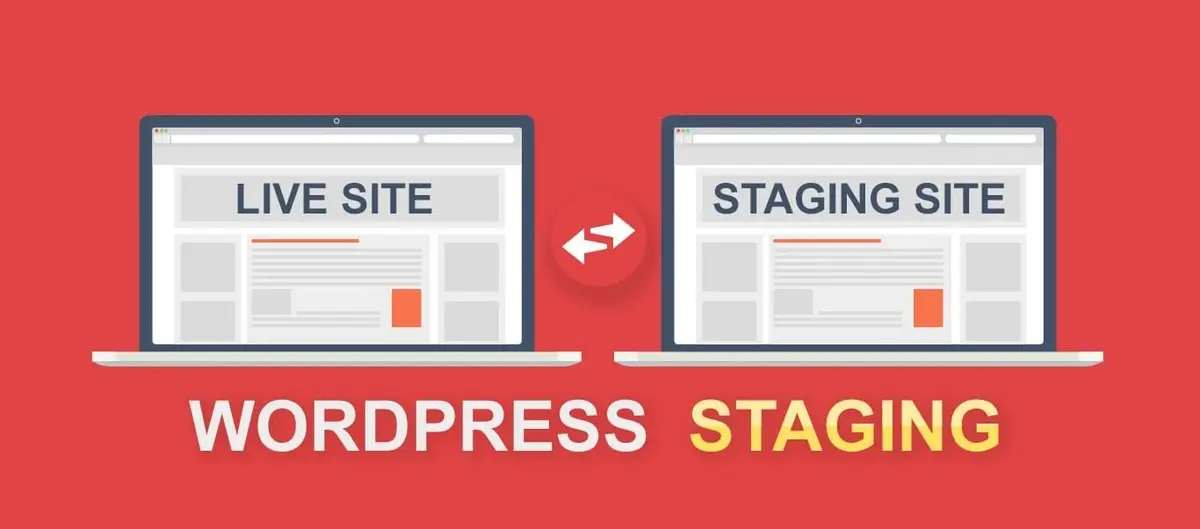
Never update your theme directly on a live website. Instead, use a staging environment to test the update first.
How to Set Up a Staging Site
- Check if your hosting provider offers a one-click staging feature (e.g., SiteGround, Bluehost).
- If not, use a plugin like WP Staging to create a clone of your website.
- Apply the theme update on the staging site and test everything before deploying it live.
Step 4: Update Theme Safely
Once you have a backup and a staging site, follow these steps to update your theme safely.
Method 1: Update Theme via WordPress Admin

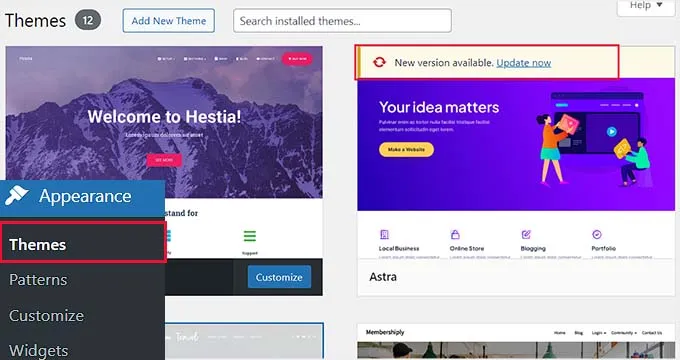
- Go to Appearance > Themes.
- If an update is available, click Update Now.
- Check your site for any broken elements.
Method 2: Update Theme via FTP

- Download the latest version of your theme from the developer’s website.
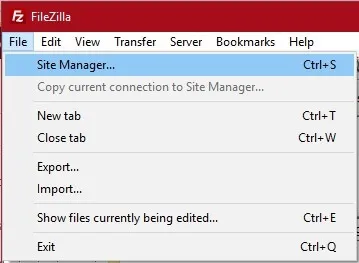
- Use an FTP client (FileZilla) to access your server.
- Navigate to
wp-content/themes/and rename your existing theme folder toyourtheme-old. - Upload the new theme folder.
- Test your site and restore any missing customizations from your child theme.
Step 5: Restore Customizations After Updating Theme
If you customize your theme directly, you may need to restore certain changes.
How to Restore
- Custom CSS: If you added CSS via Customizer > Additional CSS, it should remain intact. If not, retrieve it from your backup.
- Functions & Templates: If you edited
functions.phpor template files, copy modifications from the old theme folder. - Widgets & Menus: Some themes reset widget positions. Reassign them under Appearance > Widgets.
Step 6: Test Your Website Thoroughly
After updating your theme, thoroughly test your website to ensure everything works correctly.
Key Areas to Check
- Homepage and Inner Pages: Look for broken layouts or missing elements.
- Navigation & Menus: Ensure all links and menus function properly.
- Plugins Compatibility: Some plugins may break after a theme update.
- Mobile Responsiveness: Use Google’s Mobile-Friendly Test tool.
- Performance: Check loading speed with GTmetrix or Google PageSpeed Insights.
Step 7: Optimize for SEO After Updating Theme
After updating your theme, make sure to optimize it for SEO to maintain or improve your rankings.
SEO Best Practices After a Theme Update
- Check Site Structure: Ensure that your new theme retains a proper URL structure.
- Optimize Images: Compress and add alt text to images.
- Verify Schema Markup: Use Google’s Rich Results Test tool.
- Speed Optimization: Enable caching and use a CDN for faster performance.
Conclusion
Updating your WordPress theme is essential for security and performance, but doing it incorrectly can cause major disruptions.
By using a child theme, backing up your site, testing in a staging environment, and manually restoring customizations, you can update your theme safely.
Following these best practices ensures your website remains secure, functional, and visually consistent after each update.
Read More: WordPress Theme Detector: The Best Collection
Contact US | ThimPress:
Website: https://thimpress.com/
Fanpage: https://www.facebook.com/ThimPress
YouTube: https://www.youtube.com/c/ThimPressDesign
Twitter (X): https://x.com/thimpress_com


