In the previous post, we guided you on how to configure LearnPress plugin. In this post, we will show you how to Install Default Theme.
Guide to Install Default Theme
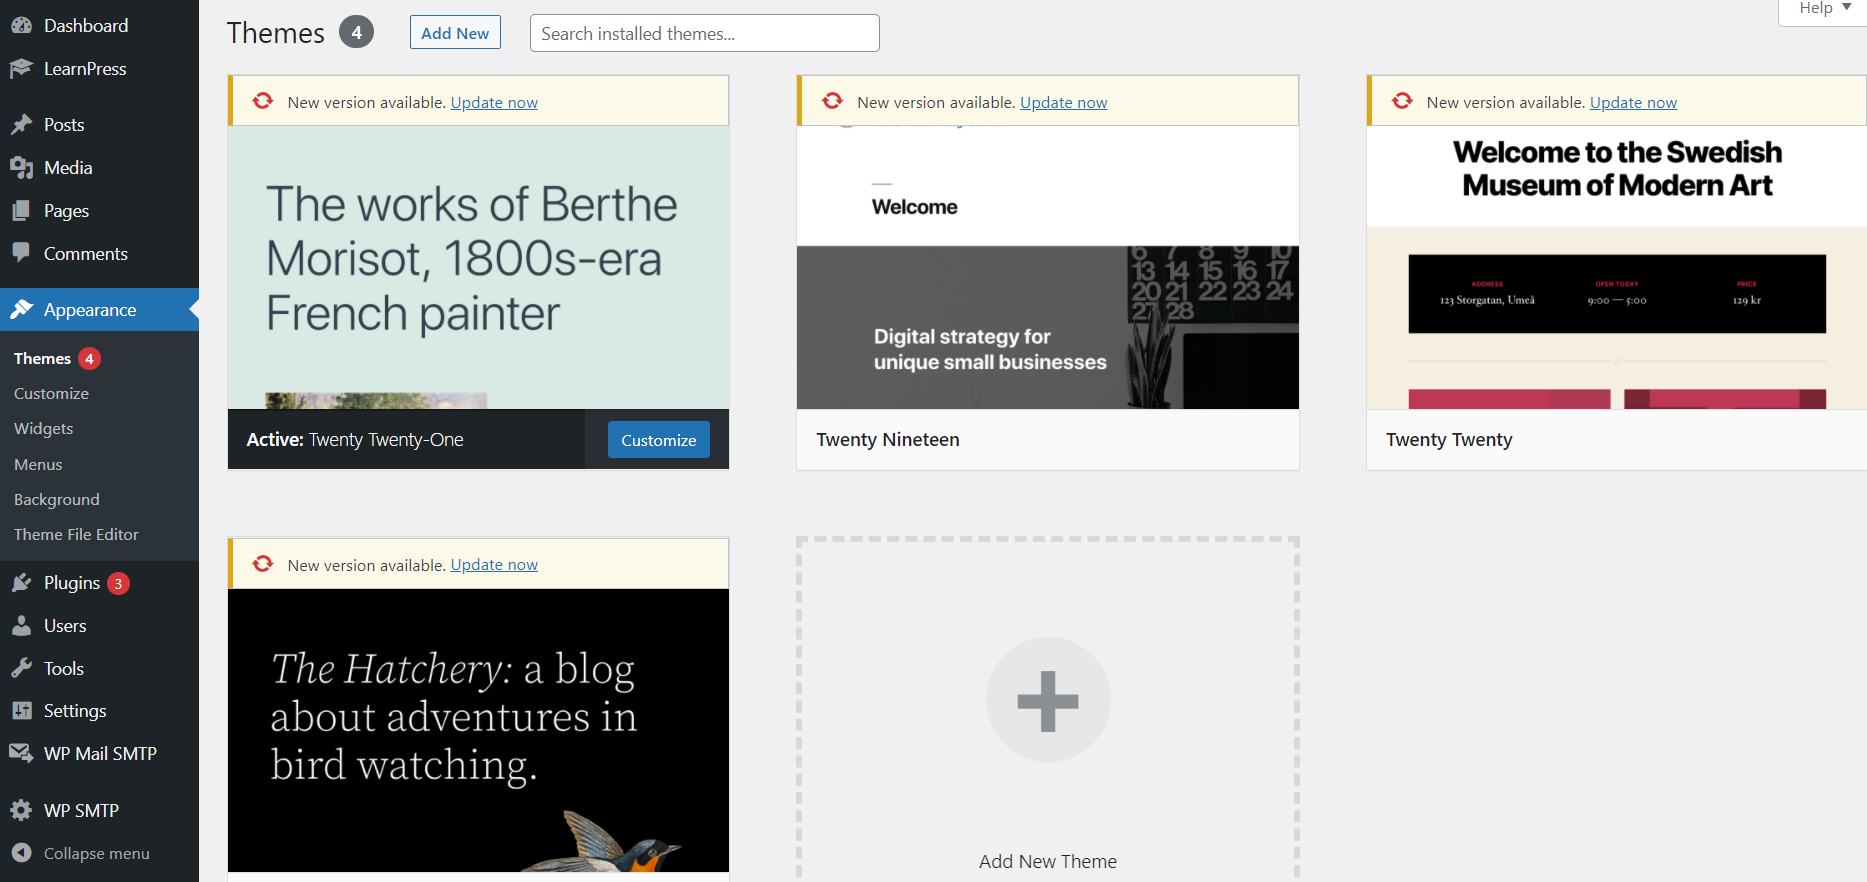
Firstly, open your WordPress admin dashboard, find Appearance on your sidebar, and select Themes. After that, click on the “Activate” or “Add New” theme you want to use. You should use the Twenty Twenty or Twenty Nineteen theme to test the LearnPress plugin.

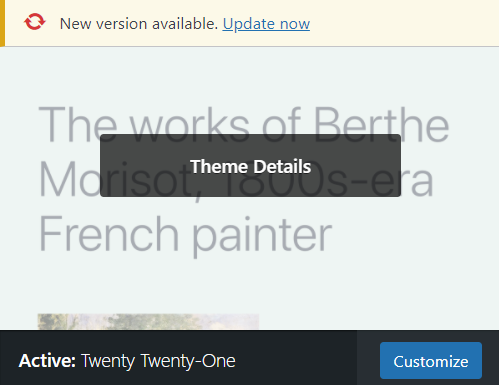
On the other hand, you can activate as many themes as you want. However, you can only use one of them at a time. With the chosen theme, you may move your mouse to the area of it and click “Customize” to edit and manage your theme. In there, you are free to edit your WordPress site: change fonts, headers, footer, and so many more. About the remaining ones, you can always preview them by choosing “Live Preview” or alternate the current theme by clicking the “Activate” button.
WordPress developers will always improve the themes to meet the demands of users, so they will update the themes regularly. Remember to check the updates and get them on as soon as possible. To update a WordPress theme, you will open “Appearance” -> “Theme.” In there, if you see a notification of a new update, click “Update now” to get the latest version of that theme.

Getting the newest theme version will help you a lot. For instance, you can receive bug fixes, new features, and maybe some big changes in the theme.
Currently, we provide some premium themes integrated with the LearnPress plugin to help you have a professional e-learning website easily, such as Eduma, Coaching, Corptrain, etc.
Hopefully, you understand our guide on how to install default theme today, and thank you for reading.
Read more:
How to Configure LearnPress Theme
How to Install LearnPress Plugin
How to Install WordPress to Your Website
Contact US | ThimPress:
Website: https://thimpress.com/
Fanpage: https://www.facebook.com/ThimPress
YouTube: https://www.youtube.com/c/ThimPressDesign
Twitter (X): https://x.com/thimpress_com


