Do you want to create websites using WordPress themes properly? Many people think that creating a website on WordPress can be difficult especially when you are not an IT developer.
But do not worry!
Whether you are an office worker or a student, a worker, or over 60 years old you can still do it. This article will step by step instructions for you or those who have no IT knowledge to easily create a website quickly and easily.
Step-by-step to create websites using WordPress themes
Website ideas, domain, WordPress themes, host are basic things you need to know before starting creating a website on WordPress. So, let’s start now, briefly, we have 5 steps for a website from blank paper to operate professionally as follows:
- 1. Create website ideas
- 2. Register the domain name
- 3. Buy hosting
- 4. Proceed to create the website
- 5. Start blog now
Step 1: Create website ideas
Step by step, you need to decide first what your website will be about. There are many website ideas so you should consider them carefully. With the right choice of website orientation, so that, you will even be able to make money from it after the website is strong.
Pre-select the purpose and main features of the website you want to do. Here are some of the most popular types of websites today:
- Website for online sales: Online stores are currently the most visited type of website. With drop shipping, everyone has the opportunity to create a left-hand business. You can sell technology products, physical or digital products anywhere in the globe (much simpler than a physical store).
- Blogs: Lots of successful webmasters started their career with a simple search query: how to create a blog. A blog can write about a wide variety of topics, blogging can be for your business, or for your hobby (travel, food, music, books).
- Educational website: Do you have special skills? Why not create your own online course or a member-only website? If you are passionate about a topic, creating an educational website can also help you become an expert in that area. Based on this idea, you can choose the right WordPress themes education. And the WordPress themes Evanto might be the ideal choice you should consider for your website.

Once you have your main idea in mind, it will be easier to choose a website hosting and a domain name for your website.
Step 2: Register the domain name
Before creating a website, you need to have an attractive domain name first. The domain name is the name of your website. So, choose carefully before buying because it’s a name that people must remember to type into the browser. Find a name that is as interesting and as good as Google.com or Facebook.com. Whether your website has a good start or not is thanks to it.
There are some notes you need to do when register a domain name:
- Website name ideas.
- Do a test on the domain check page to see if it is available.
- Run a domain name search.
- Choose one or several of the best domain names.
- Review the order and complete the registration.
Step 3: Buy Web Hosting
Basically, Hosting is where you put all the files of the website into it so that the visitor’s browser can download the data when needed.
The domain, on the other hand, is a unique address you choose, associated with your brand so that visitors can type that domain name into the browser. In short, at least you need both web hosting and a domain name for a website. There are many types of web hosting, depending on the size of the project you should consider what type of web hosting to suit.
Step 4: Proceed to create the website using WordPress Themes
Now, it’s a difficult time. The whole website creation process will depend on this step – choosing the platform. What your goals need to do will play a role in deciding which platform you should choose.
Maintaining the title of the most popular content management system in the world, WordPress allows users to create any type of website they like. A lot of people use WordPress for blogging, but many also use it as an e-commerce site or product review site. A large number of plugins available is the key foundation for making WordPress a powerful tool on the web.
#Setting
There are many CMSs that can be installed using Hostinger‘s Auto-Installer tool. The example below is how to create WordPress:
- Access the Hostinger control panel and select Auto-installer
- Enter WordPress in the search engine and select WordPress.
- Fill in all the information and settings with WordPress 3 step guide
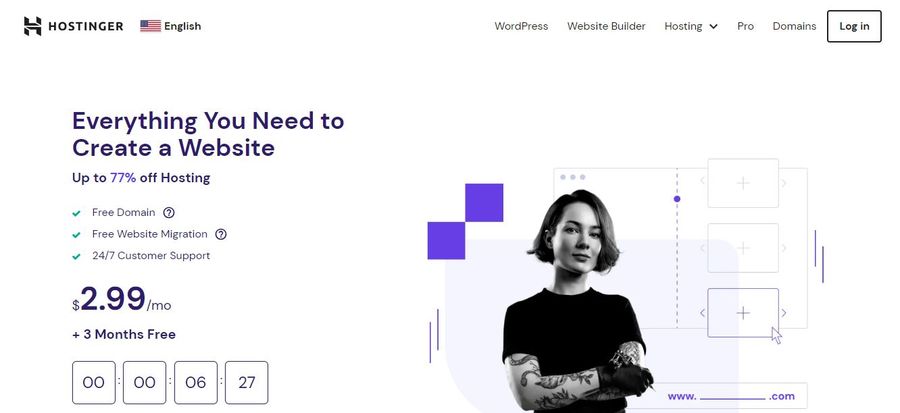
That’s it, WordPress has been successfully installed. Note that you need to fill in information such as web name, username, and password to login to the admin page above
As you can see it only takes a few minutes to install WordPress with the hosting auto-installer. If you are unsure where to start with WordPress, check out this tutorial.
#WordPress admin area
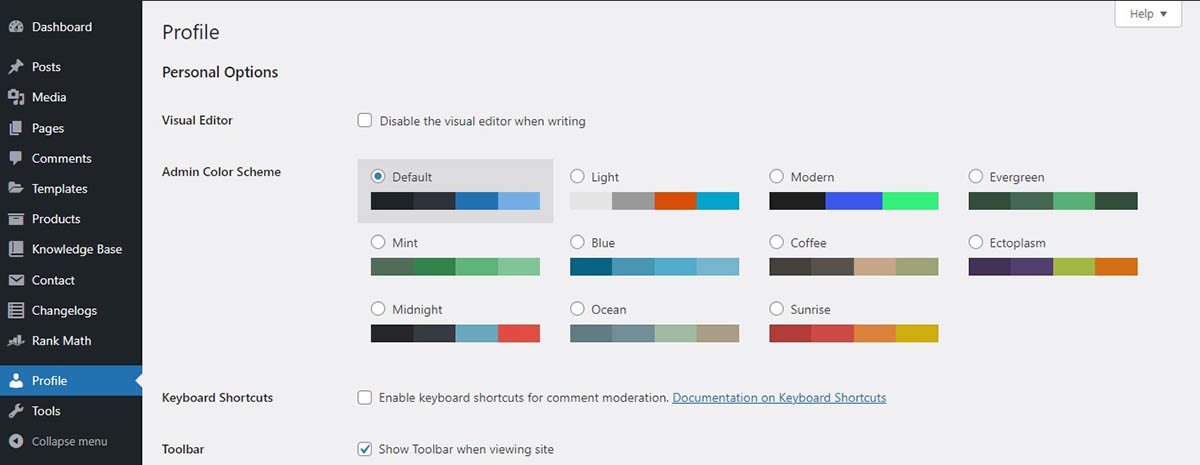
When the installation is complete, navigate to yourdomain.com/wp-admin to go to the WordPress dashboard.
Fill in the credentials you set up during the installation. In the admin interface, you can control everything related to your WordPress website, from content to users, to the website interface.
#WordPress Themes and Design
One of the perks of making a WordPress website is that you can choose from a variety of themes. You can choose from a static best WordPress themes or WordPress themes video for your web.
Themes greatly affect the website loading speed, so if you choose WordPress themes that are programmed well, the website can load very slowly. Moreover, the theme also greatly affects security, a badly coded WordPress themes will easily be exploited and destroyed by hackers.
The official WordPress themes gallery page has over 11,000 options! You can access this library at Appearance > Themes on the dashboard.
The theme’s preview may not look exactly the same as shown in the screenshots. This is normal as you can customize and set them up later. What you need to look for is design, colours, typography, and a few other elements… to get a complete website.
When you find the WordPress themes you like, click Install. Wait a moment for your theme to be installed. Then the Install button will be appeared and replaced with an Activate button. You need to click on the Activate button to finish.
In case you want to change, you can go to Appearance > Customize to customize the theme.
You can watch the WordPress themes tutorial below here to understand deeply how to make a WordPress website.
Step 5: Start a blog now!
To create a post, click on the Posts menu > Add New in the Dashboard. You will see an editor – where you can post your first post.
After the writing is finished, you scroll to the top right corner of the screen, then click the Publish button to post your first post.
On the post editor screen, you will see a number of other options such as Category and Tag. Using them is essential on your blog to optimize the website structure to help Google bots understand more.
Above are 5 basic steps to create websites using WordPress themes. Hopefully, you have found the right guide on how to get started with creating a website on WordPress. Good luck!
Read more: The history of WordPress
Contact US | ThimPress:
Website: https://thimpress.com/
Fanpage: https://www.facebook.com/ThimPress
YouTube: https://www.youtube.com/c/ThimPressDesign
Twitter (X): https://x.com/thimpress_com

